Sharing Ubuntu Linux Folders with Remote Windows Systems
Although Linux is increasingly making inroads into the desktop market, its origins are very much server based. It is not surprising, therefore, that Linux has the ability to act as a file server. Files on a Linux system can be accessed both from other Linux (and UNIX) systems and Windows based systems over network connections.
Remote filesystem access between Linux and UNIX systems is achieved using technology called Network File System (NFS) which is discussed in Sharing Ubuntu Linux Folders with Remote Linux and UNIX Systems. Windows systems share resources such as filesystems and printers using something called Server Message Block (SMB). In order for a Linux system to serve such resources over a network to a Windows system it must, therefore, support SMB. This is achieved using technology called Samba.
In this chapter we will look at the steps necessary to share filesystem resources on an Ubuntu Linux system with remote Windows Systems.
Setting Up Ubuntu Linux/Windows File Sharing
The sharing of Linux folders with Windows based systems is not installed and configured by default on Ubuntu Linux. Fortunately, attempting to share folders will automatically trigger the installation of the appropriate services.
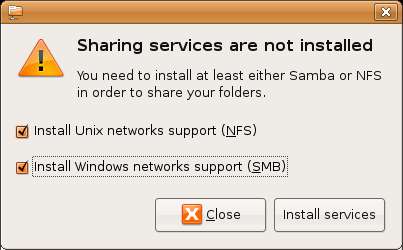
To begin the process of sharing select the System desktop menu, and from the Administration sub-menu select Shared Folders. Enter your password when prompted to do so. If the services necessary for folder sharing are not installed you will be prompted to install them:
If you only ever plan to share resources with Windows systems uncheck the NFS box. If you think you may need to share resources with other Linux or UNIX systems make sure both boxes are checked and click on Install.
Sharing Ubuntu Linux Folders
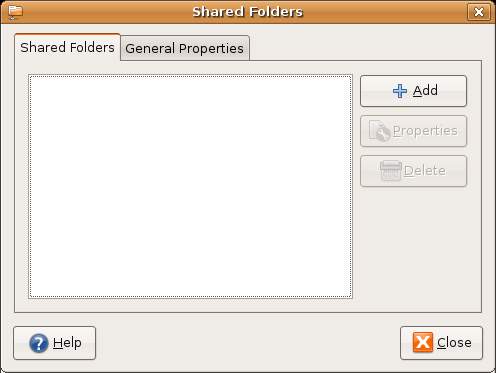
Once the Samba File sharing package has been installed the Shared Folders dialgo will appear. This dialog is used to define which folders may be accessed by remote Windows systems:
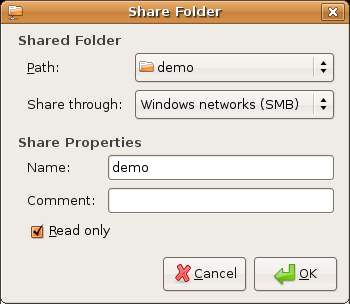
Click on the Add button to add a new folder. The following dialog will subsequently appear:
This dialog is used to define which folder will be shared. Select from the Path:drop down menu. You can select either a user's directory, the root directy (not advised for security reasons) use the Other... option to browse the file system to find the path you wish to share. Having selected a folder enter the Windows networks (smb) for the Share through option and then provide a resource name by which the folder will be accessed from the Windows system.
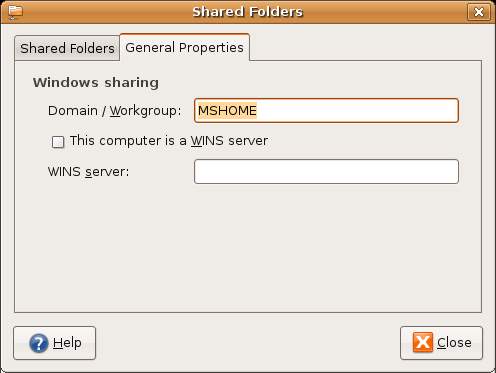
Click on OK when you have configured the information in this dialog and then select the General Properties of the main Shared Folders dialog which will display the following options:
Enter the name of your Windows Workgroup and click on Shared Folders tab to return to the intial screen.
The final step is to configure a password for samba access to your shared folders. From a terminal window, run the following command (where username is the username you use to log into your Ubuntu system):
sudo smbpasswd -a username
Once completed the folder you specified will be visible from any Windows systems on the same network (and workgroup specified in the General Properties page) as your Ubuntu Linux system. When prompted on the Windows system for the password to access the resource enter the password defined using smbpasswd above.


